Radiator installation. From preparation to finish.
Follow the people and practical work behind a central heating upgrade, in this 2:17 SwiftHeat UK project film.
A finished radiator is the part you see every day. This showcase takes you closer to the work around it: preparing equipment, handling radiators, working on the connections and bringing the installation together.
Join SwiftHeat UK Group Ltd on site for a view of the process, from the opening introduction to the fitted panel radiators.
Follow a central heating project from the on-site introduction and system preparation to radiator handling, copper connections and fitted panel radiators.
Following the project
A closer view of installation day.
The film begins with an on-site introduction before moving into the practical work at the property. Equipment is in place, radiators are being prepared and the team is working through the installation.
It captures the stages between a heating project being planned and the radiators being fitted. Close-up views bring the connections into focus, while the wider shots show the people carrying out the work.
For a homeowner considering similar changes, it is a useful look at what radiator installation involves inside a home.
Inside the showcase
The preparation. The fitting. The connections.
01
Preparing the system
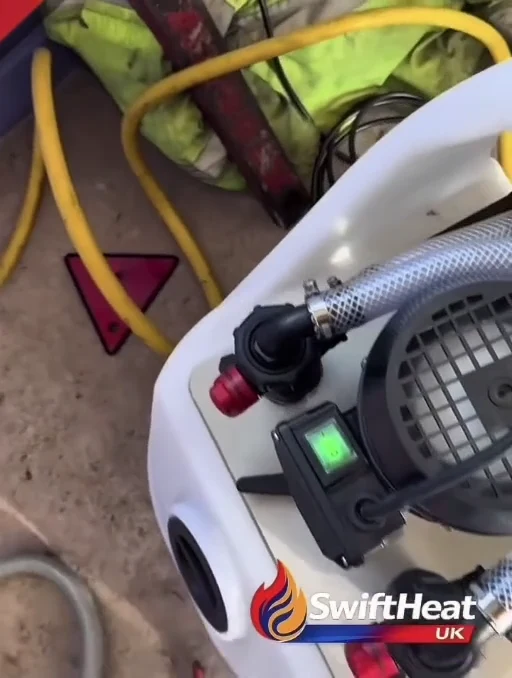
The footage includes system-cleaning equipment and its connected hoses at the property. These views show some of the preparation surrounding the radiator work, alongside the equipment and materials being handled on site.
02
Handling and fitting radiators
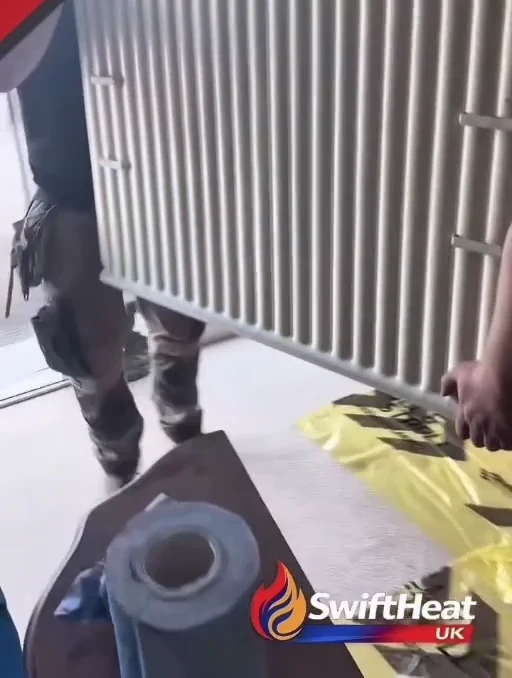
The team prepares and moves panel radiators through the working areas. The film follows this hands-on stage of the installation, giving context to the finished radiators shown later.
03
Attention to the connections
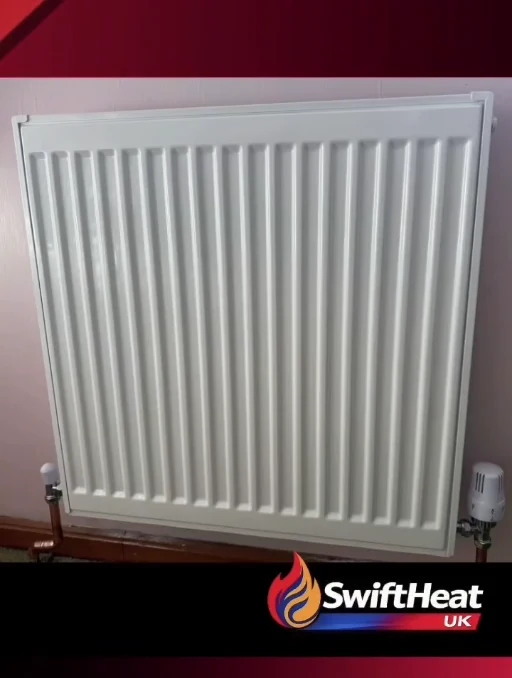
Closer views show the engineer working on copper pipework at the radiator connections. The final installation sequence shows a white panel radiator fitted with its connected pipework and thermostatic valve.
The closing radiator footage brings the project back to the room: a fitted white panel radiator, its valves and the copper connections beneath it.
Watching the work unfold adds context to that finished view. The equipment, handling and connection work are all part of the installation story captured in this film.
Care in every connection. Confidence in every detail.
Taken from the project film
Three moments from the installation.
These stills follow the equipment on site, the team handling a radiator and the fitted result. Each comes directly from the 2:17 showcase.
Preparation on site: system-cleaning equipment shown at 0:45 in the film.The team at work: handling a panel radiator, shown at 1:05.The finished installation: a fitted panel radiator and its connections, shown at 2:05.
What you’ll see in the film
An introduction at the property, system-cleaning equipment, engineers preparing and moving panel radiators, work at the radiator connections and the fitted radiators. Use the player above to follow the sequence.
Planning your own upgrade
Start with the room. Consider the whole system.
Your project begins with the space and the result you want to achieve. You might be replacing an ageing radiator, changing its position or planning work across several rooms.
We discuss the existing system, room requirements, radiator positions and access before explaining suitable options. The quotation sets out the proposed equipment, pipework, preparation and installation work.
For a wider upgrade, our central-heating service brings the different parts of the system into that conversation. The agreed scope and aftercare are explained for your own installation.
Send your postcode and photographs of the radiators and visible connections. Tell us which rooms you would like to improve and whether you are considering replacements, new positions or a wider heating upgrade.
We’ll explain the options and help you arrange the right assessment and quotation.